Are you eager to upgrade you car, but hesitant about the audio install process? Fear not! With a little DIY spirit and this comprehensive step-by-step guide, you'll soon be cruising to your favorite tunes in style. Installing a car audio system might seem daunting, but by following these instructions and tips, you'll be well on your way to achieving that high-quality sound you've been dreaming of.
Pre-Installation
Before embarking on your audio install project, conducting thorough research and confirming the appropriate speaker and head unit sizes for your vehicle is a crucial initial step. Begin by consulting your car's manual or searching online databases that provide detailed specifications for your make and model. These resources often outline the compatible sizes for different areas within your car, such as the front doors, rear deck, or dashboard.
Measurements are equally important to the audio install; they ensure the speakers and head unit you select will fit perfectly into the designated spaces without obstructing other car functionalities. Take note of the available depth, width, and height in the mounting locations to ensure compatibility. Additionally, consider any additional adapters or mounting hardware required for a seamless fit making the audio install a breeze. Copper
Once armed with this information, you'll be better equipped to purchase equipment that not only enhances your car's audio but also seamlessly integrates into its design, making the installation process smoother and more successful.
Step 1: Gather Your Materials
Before you begin, ensure you have all the necessary tools and equipment:
- New car audio system components (head unit, speakers, amplifier, etc.)
- Wiring harness adapter compatible with your car model
- Wire cutters/strippers
- Electrical tape or Heat Shrink
- Crimp connectors or soldering iron
- Screwdrivers and wrenches
- Panel removal tools
- Drill (if necessary for speaker installation)
- Test light or multimeter
Step 2: Prepare Your Car
Start by disconnecting the car battery to avoid any electrical mishaps. Identify the panels and parts that need removal to access the existing audio system. Use appropriate tools to carefully remove these panels without causing damage. That handbook in your vehicle should provide details on how to prepare.
Step 3: Remove Old Components
Unscrew and disconnect the existing head unit, speakers, and if your car is equipped with one, the amplifier. Take note of the wiring connections for reference during the installation of the new system. Be cautious and organized, keeping track of any items such as screws and components.
Step 4: Install the Head Unit
Connect the wiring harness adapter to the new head unit, matching the wire colors correctly. Secure the head unit in place following the manufacturer's instructions. Double-check the connections and ensure they are snug and secure.
Step 5: Wiring and Speaker Placement
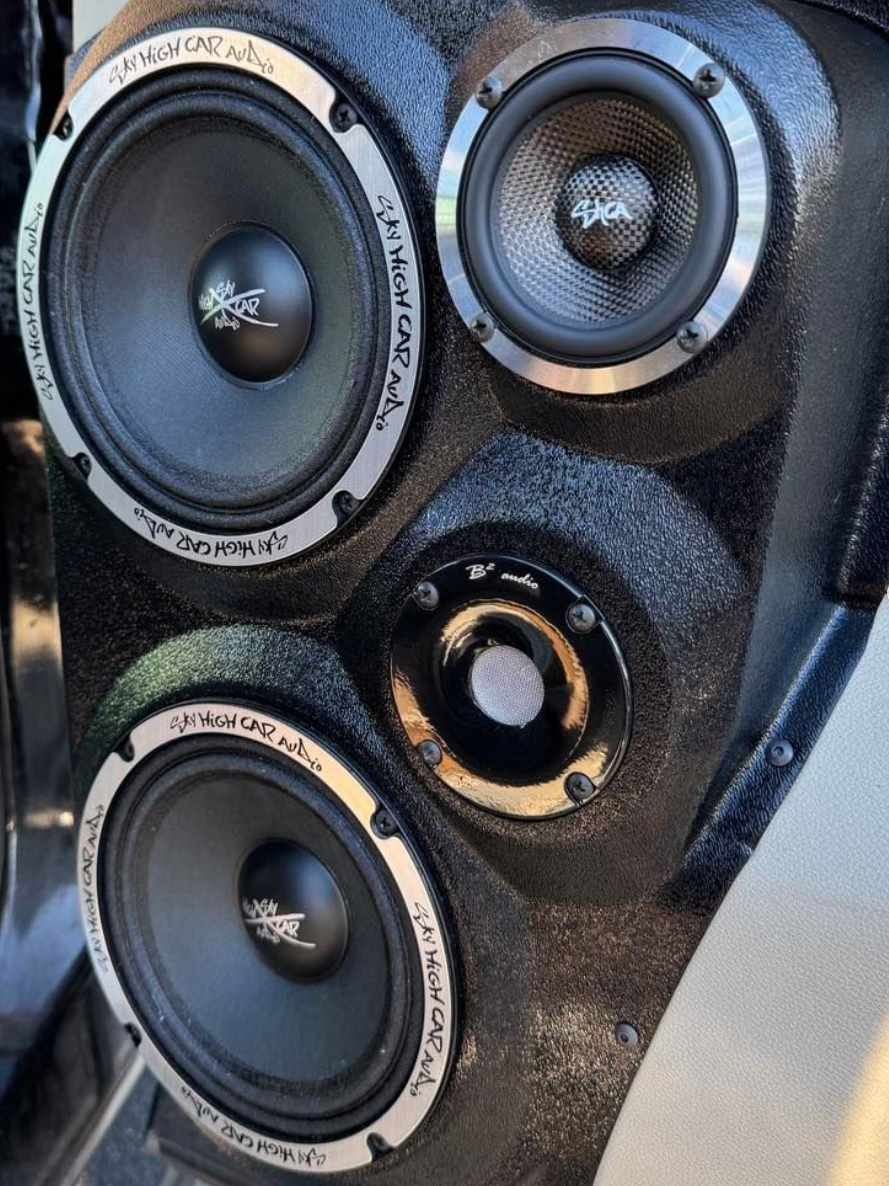
Plan your speaker placement carefully for optimal sound quality. Use panel removal tools and a drill (if needed) to install the new speakers. Connect the wiring from the head unit to each speaker, making sure to match positive and negative terminals correctly.
Step 6: Amplifier Installation (If Applicable)
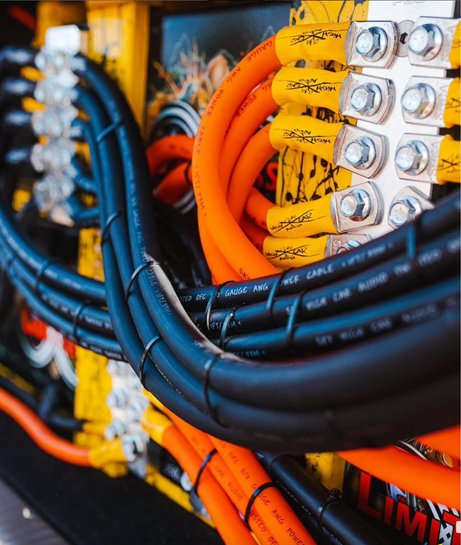
If adding an amplifier, find a suitable location in the car, preferably near the speakers. Connect the amplifier using the appropriate wiring and ensure a solid ground connection for optimal performance.
Step 7: Test and Troubleshoot
Before reassembling the car panels, reconnect the car battery and test the audio system. Check each component for functionality, ensuring the sound quality meets your expectations. Use a test light or multimeter to troubleshoot any issues with power or connectivity.
Step 8: Finalize and Reassemble
Once satisfied with the sound quality and functionality, carefully reassemble the car panels and components. Ensure all connections are secure and panels are fitted correctly.
Congratulations! You've successfully installed a new audio system in your car. By following these steps and paying attention to details, you've unlocked a whole new level of musical enjoyment in your ride.
Remember, if you encounter any difficulties during the installation process, consult the manufacturer's instructions or seek assistance from professionals.
Enjoy your upgraded audio experience on the road!
For more detailed information or professional assistance with audio installations, reach out to our team of experts at www.skyhighcaraudio.com. Happy driving with your new, enhanced audio system!
**Disclaimer: Always ensure safety measures are followed when working with electrical components in vehicles. If unsure, consult a professional for assistance.


